If you’re like me and love trying new dessert ideas, you’ve probably stumbled upon Rice Krispie treats. But have you ever thought about combining them with the ultimate classic treat: chocolate chip cookies? Well, you’re in for a real treat today! Let me walk you through how to make the best Rice Krispie Chocolate Chip Cookies in just 20 minutes.
These cookies are a perfect blend of chewy, crunchy, and gooey, making them the ultimate comfort food. They’re quick, easy, and, trust me, they will disappear faster than you can say “chocolate chip.”
Ingredients You’ll Need:
Before we get started, here’s a list of everything you’ll need to make these delicious cookies:
Step 1: Preheat the Oven & Prepare Your Baking Sheet
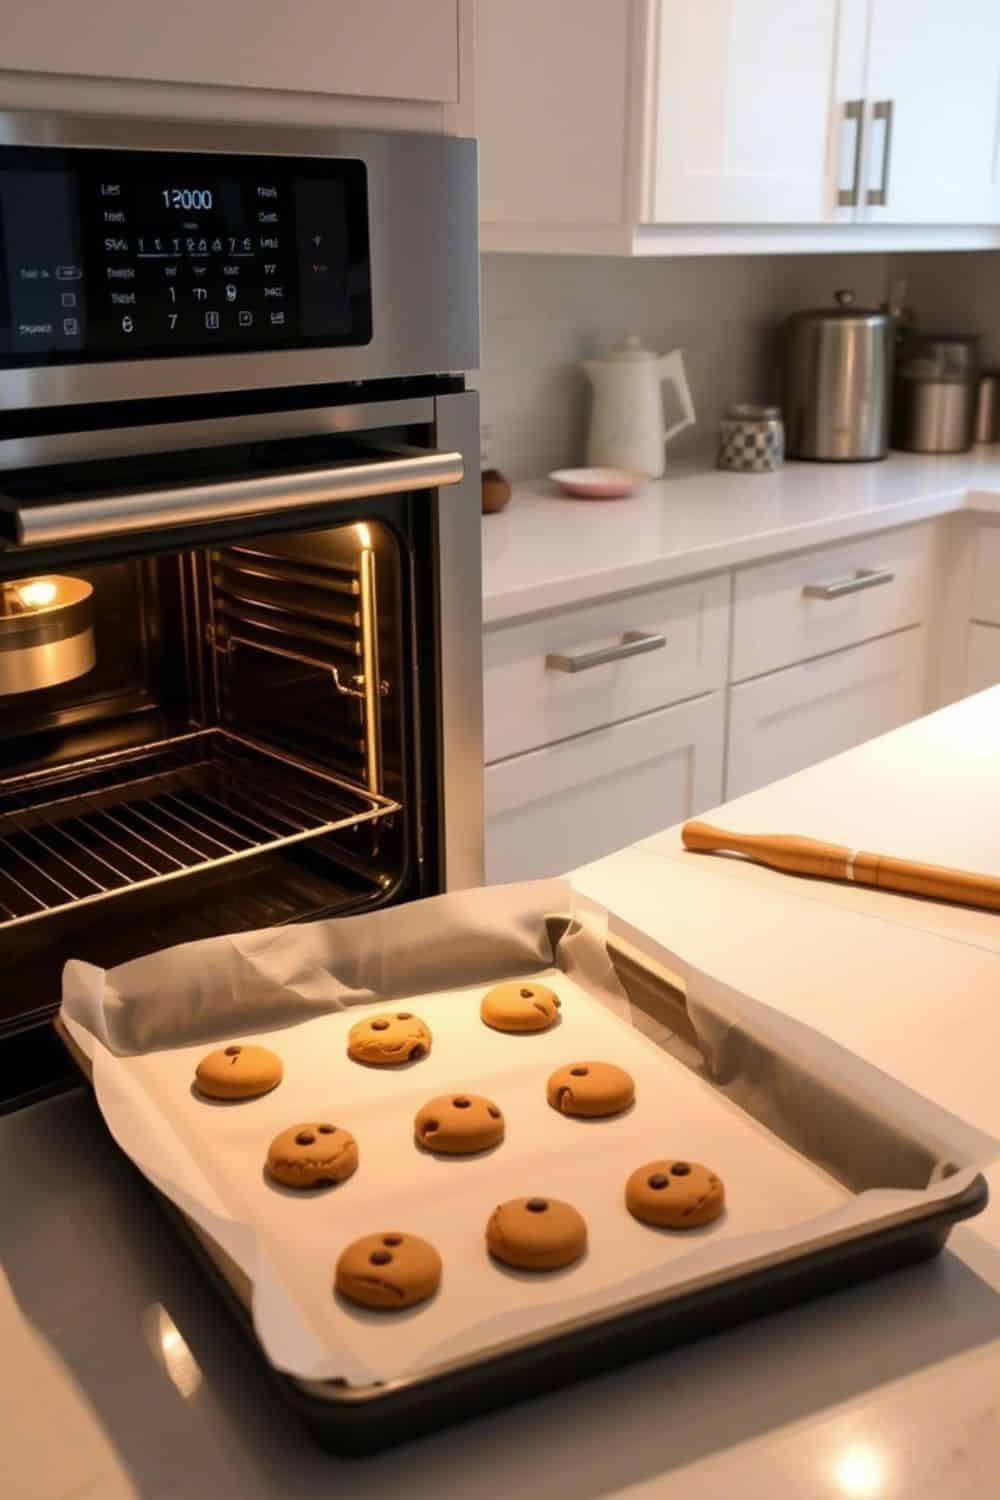
Alright, first things first: Preheat your oven to 350°F (175°C). This way, your oven will be all ready when you’re done mixing.
While that’s heating up, line a baking sheet with parchment paper. If you don’t have parchment, no worries! Just grease the sheet lightly with some butter or non-stick spray. You want those cookies to slide right off when they’re done.
Step 2: Mix the Wet Ingredients
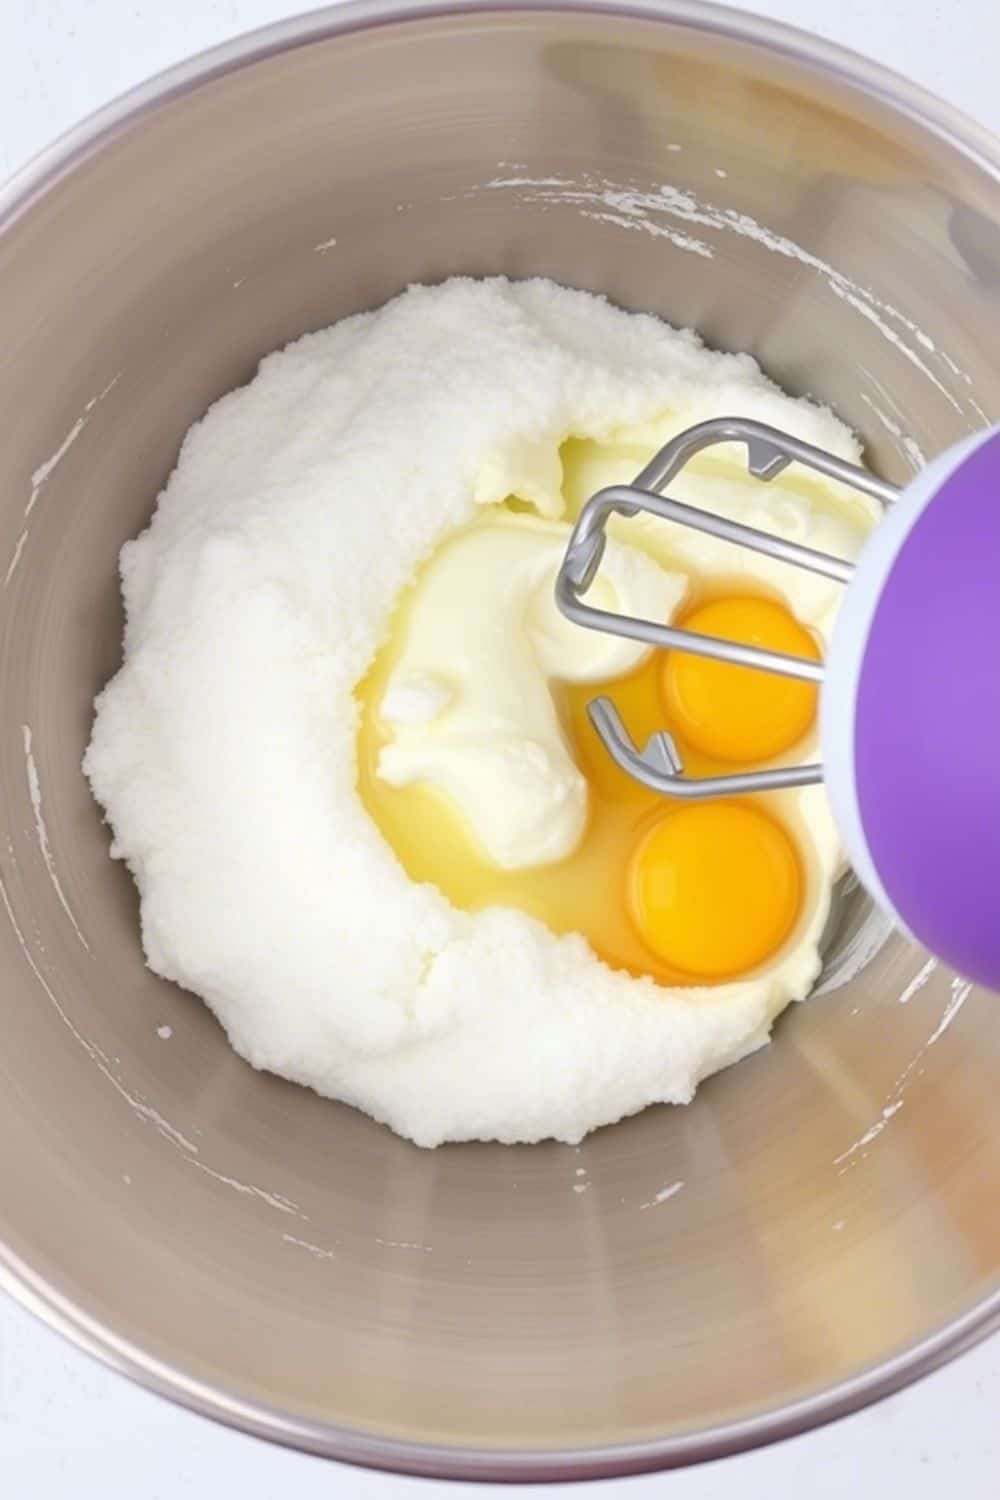
Now it’s time to grab a large mixing bowl. Add your softened butter (1 cup) to the bowl, and mix it with the brown sugar (1 cup) and granulated sugar (1/2 cup). You can use an electric mixer for this step, or if you’re feeling like a workout, you can do it by hand with a wooden spoon.
Mix until the sugar and butter are creamed together and light in color, about 2-3 minutes. This is one of the key steps that makes your cookies so soft and chewy! Next, add in the eggs (2 large) and vanilla extract (1 tsp), and mix until fully incorporated.
Step 3: Add the Dry Ingredients
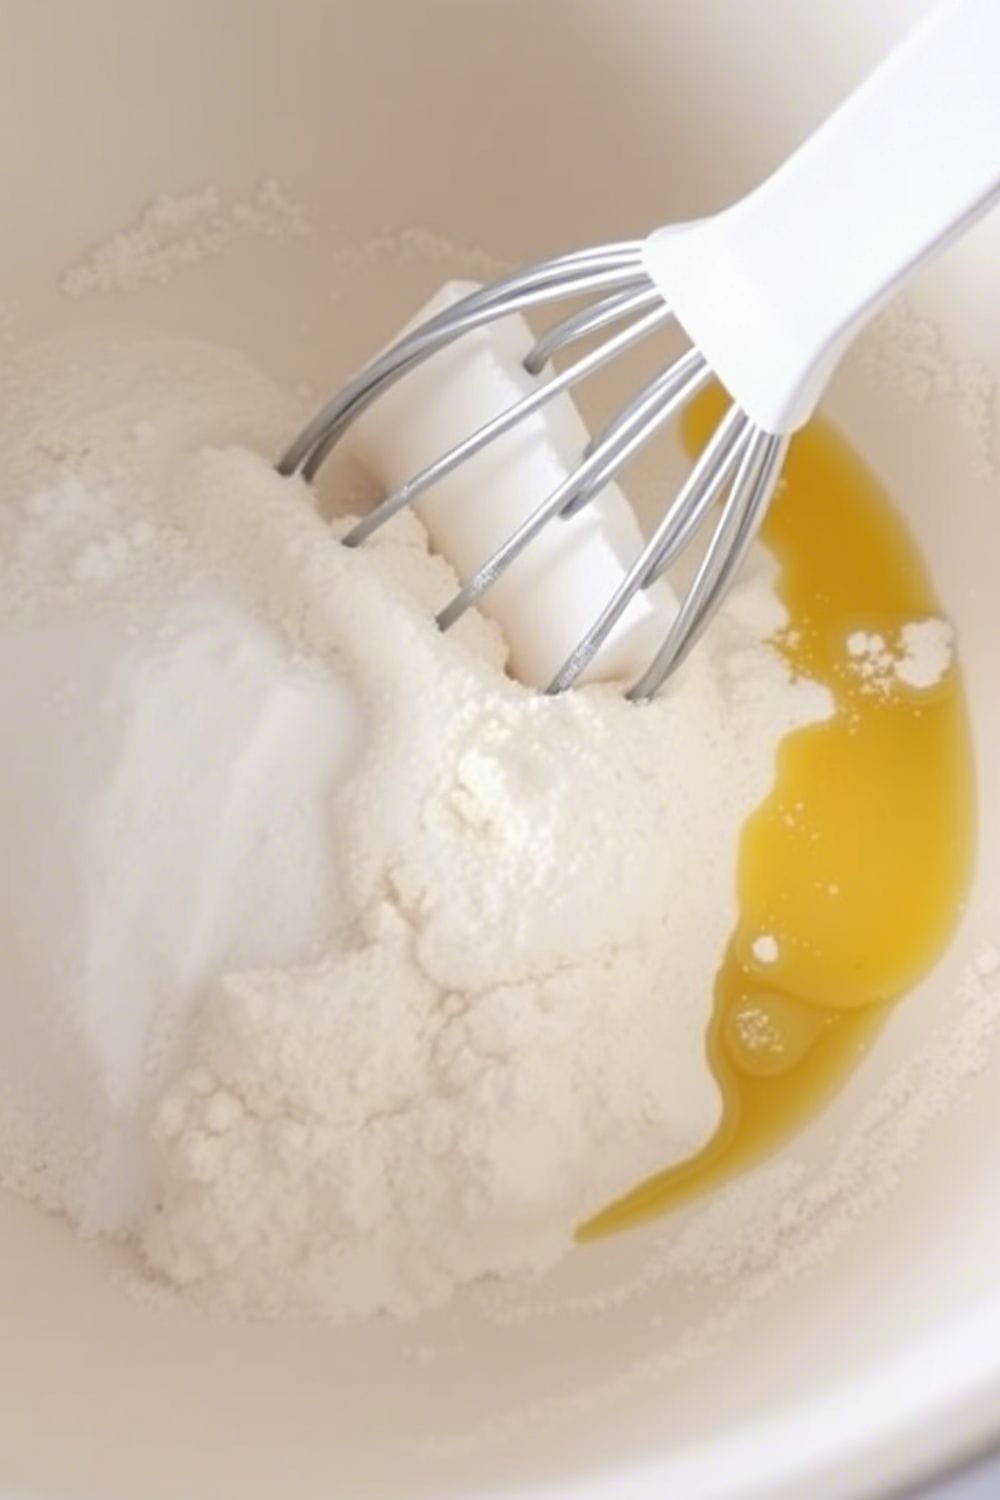
Once your wet ingredients are well mixed, it’s time to add the dry ingredients. In a separate bowl, whisk together your flour (2 cups), baking soda (1 tsp), and salt (1/2 tsp).
Now, gradually add the dry mixture to the wet ingredients, mixing as you go. I like to do this in three parts, so it’s easier to combine. Stir until everything is just combined—don’t overmix, or your cookies might be a little tough.
Step 4: Stir in the Rice Krispies and Chocolate Chips
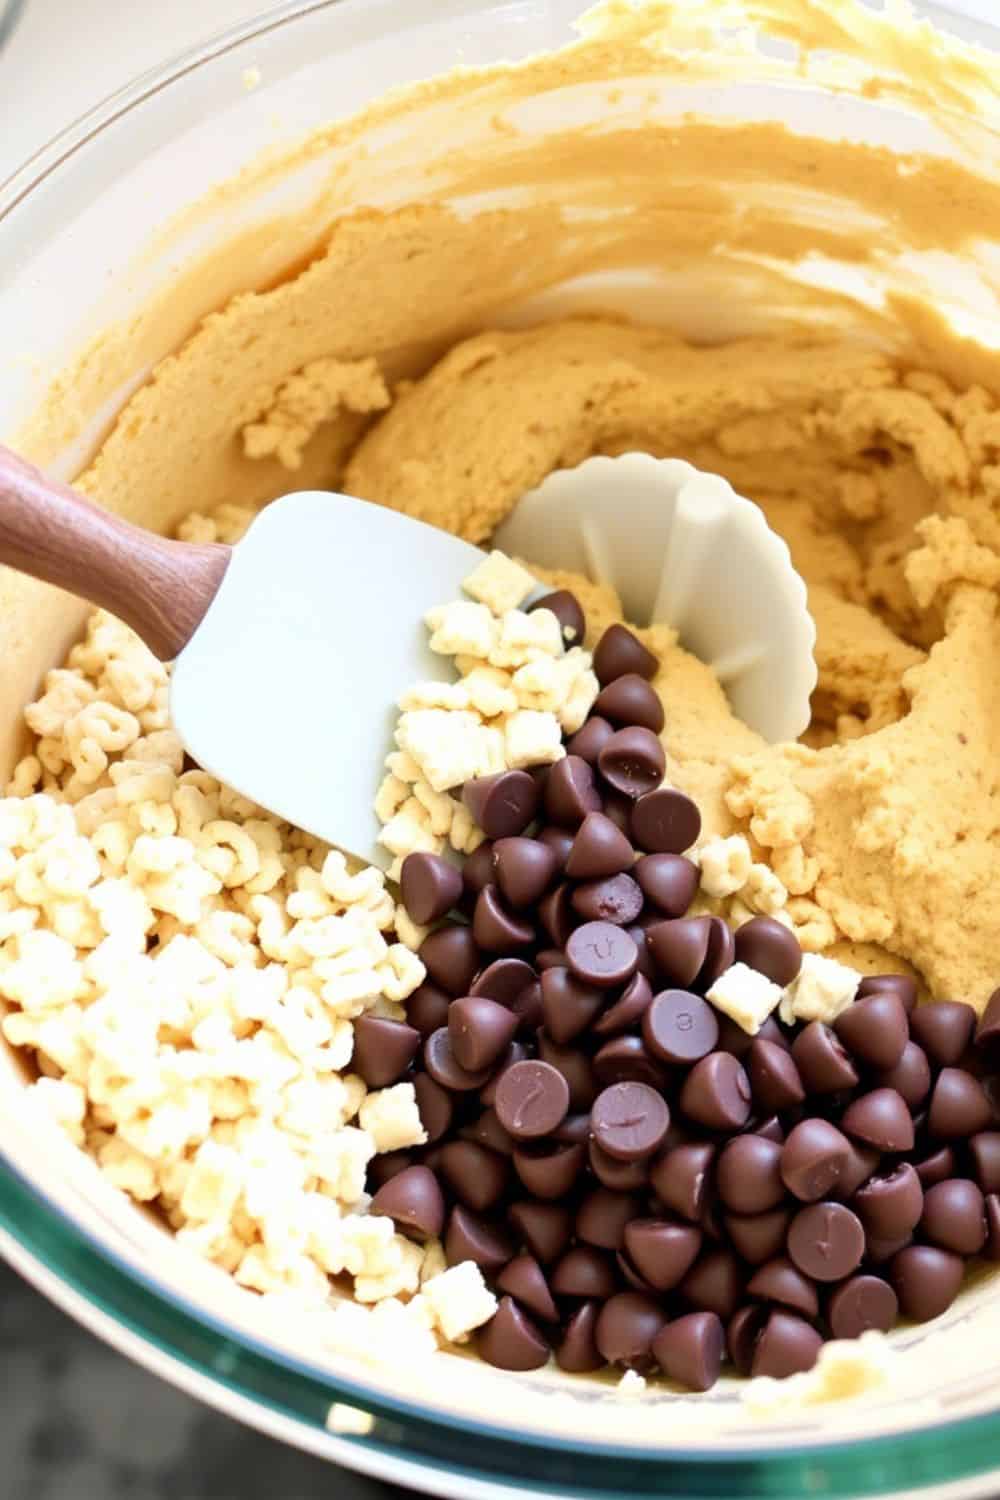
This is the fun part! Take your Rice Krispies (1 cup) and gently fold them into the dough. You’ll get that signature crunch, and they’ll add texture to your cookies.
Next, fold in your chocolate chips (1 1/2 cups). I’m a fan of semi-sweet chocolate chips because they’re not too sweet, but you can totally use milk chocolate if that’s what you like!
Step 5: Scoop the Dough onto the Baking Sheet
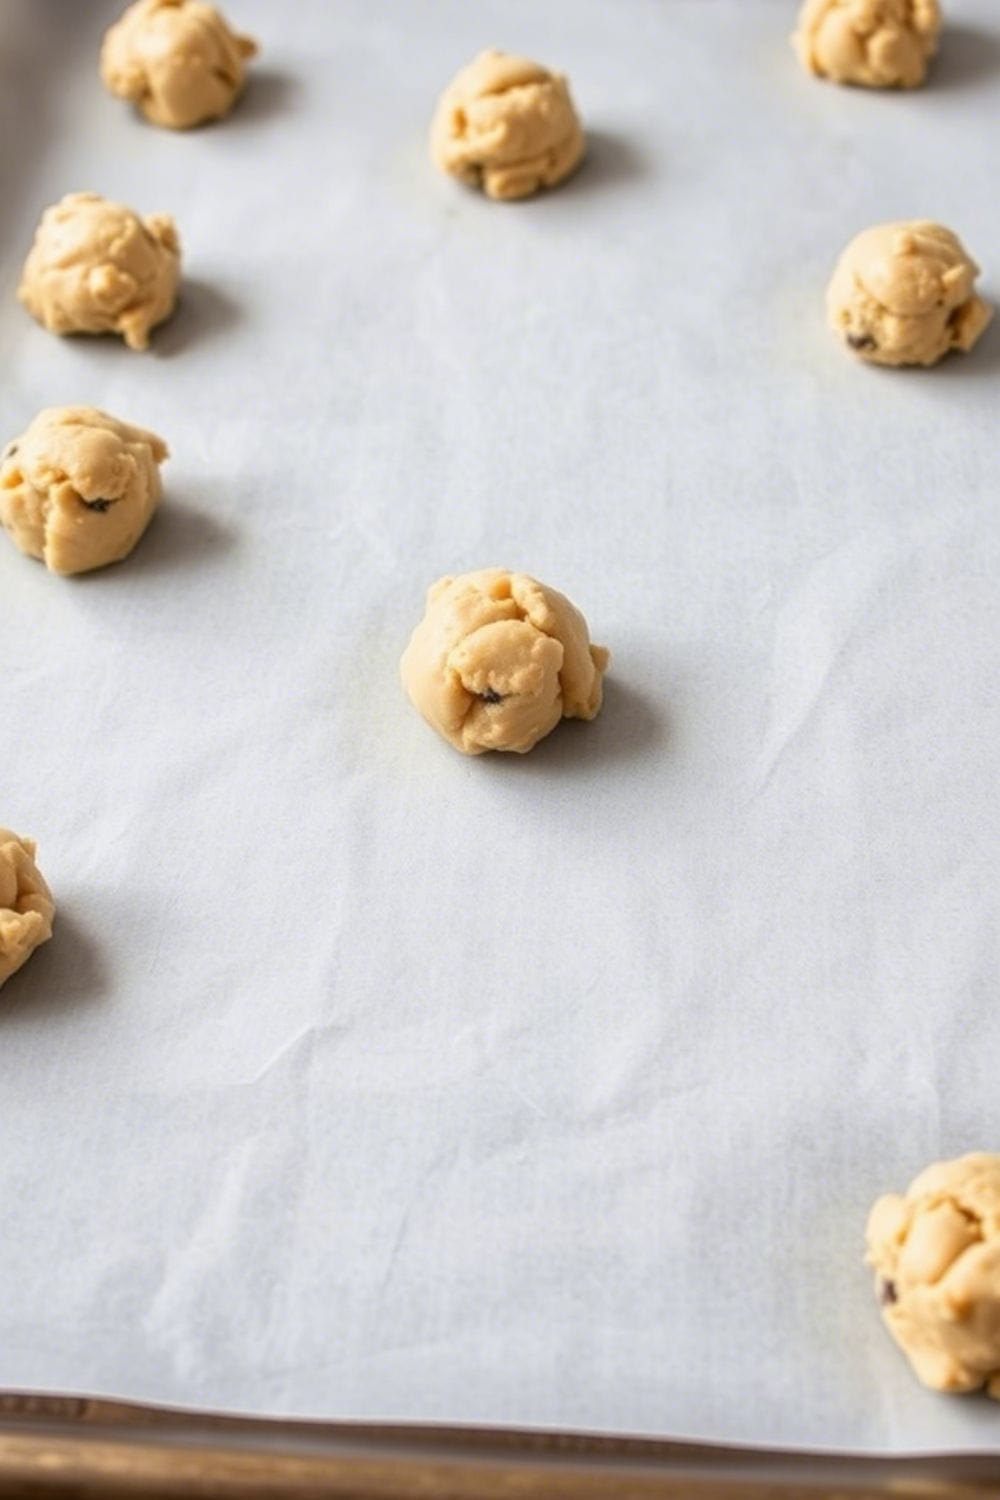
Now, grab your cookie dough and scoop it onto the baking sheet. I like to use a cookie scoop for uniform size, but a tablespoon works just as well. Space each scoop about 2 inches apart so they have room to spread while baking.
If you want your cookies to be extra fluffy, press them down lightly with the back of a spoon. This gives them a more classic cookie shape.
Step 6: Bake the Cookies
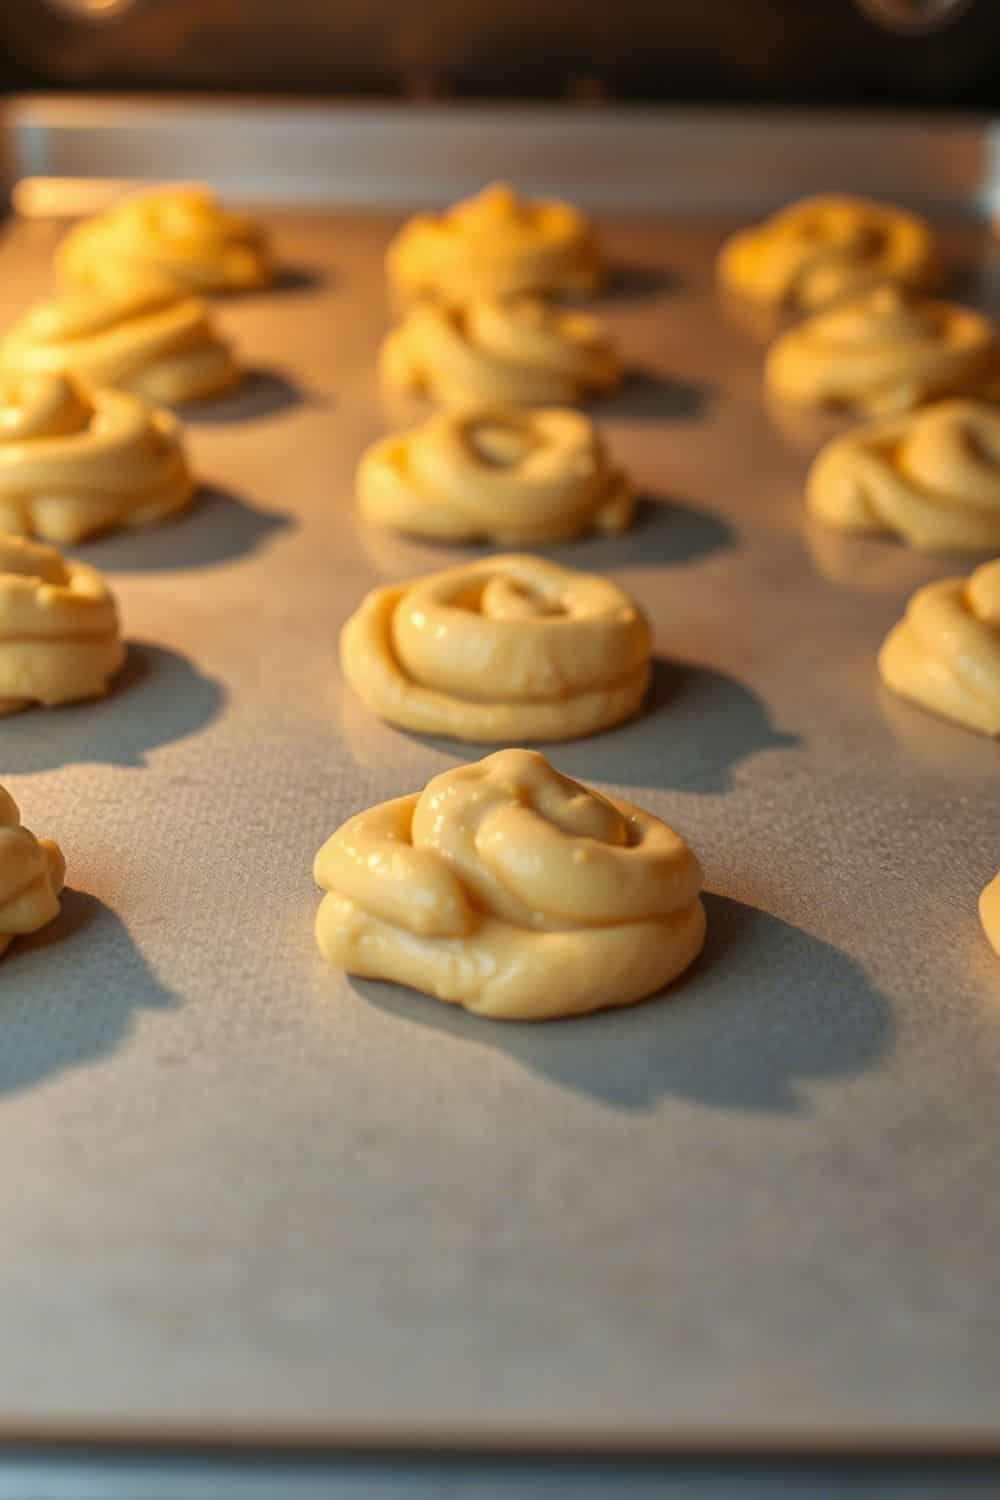
Pop the baking sheet in the oven and bake your cookies for 8-10 minutes, or until the edges are golden brown. The center might still look a little soft, but that’s totally fine. They’ll firm up as they cool!
One trick I love: If you want your cookies to look extra gourmet, sprinkle a tiny bit of sea salt on top just before baking. The sweet-salty combo is heavenly!
Step 7: Let the Cookies Cool
Once your cookies are done, remove them from the oven and let them cool on the baking sheet for 5 minutes. This is important because they’re soft and delicate right out of the oven. After 5 minutes, carefully transfer them to a wire rack to finish cooling.

Step 8: Enjoy!
Now comes the best part: enjoying your cookies! These Rice Krispie Chocolate Chip Cookies are perfect for a quick snack, an after-school treat, or even as a dessert at a party. They’re chewy, crunchy, and chocolaty—all in one bite.
I highly recommend enjoying them with a glass of milk (or a warm cup of coffee if you’re feeling extra cozy). You won’t be able to eat just one, trust me!

Tips & Tricks for Perfect Rice Krispie Chocolate Chip Cookies:
- Use fresh Rice Krispies: If your Rice Krispies have been sitting around for a while, they may lose their crunch. Always use fresh cereal for the best texture.
- Don’t overbake: Remember, cookies continue to cook after you take them out of the oven, so slightly underbake them for the softest, chewiest cookies.
- Add extra mix-ins: If you’re a fan of extra flavors, try adding a handful of chopped nuts or even some mini marshmallows for that Rice Krispie treat vibe.

Conclusion:
There you have it! The best Rice Krispie Chocolate Chip Cookies in just 20 minutes. These cookies are everything you could want in a dessert—chewy, crunchy, and filled with chocolatey goodness. Plus, they’re so quick to make, you’ll have a batch ready before you even know it. Whether you’re baking for yourself or sharing with friends, these cookies are guaranteed to be a hit.
Happy baking, and enjoy your delicious treats!


Leave a Reply