
Hey there, baking buddies! If you’re dreaming of a warm, gooey Pumpkin Cinnamon Pull Apart Bread that fills your kitchen with fall vibes, you’re in the right place. I’ll let you in on a little secret: my first attempt at this recipe was a total flop. Sticky dough, fused layers, and a loaf that resembled a pumpkin brick more than pull-apart bread. Disaster! But after plenty of trial and error (and a few flour-dusted meltdowns), I’ve cracked the code. These seven secrets will transform your bread from “meh” to “holy cow, I made THAT?!” Grab your mixing bowl, and let’s get started—trust me, you’ve got this!
The 7 Secrets
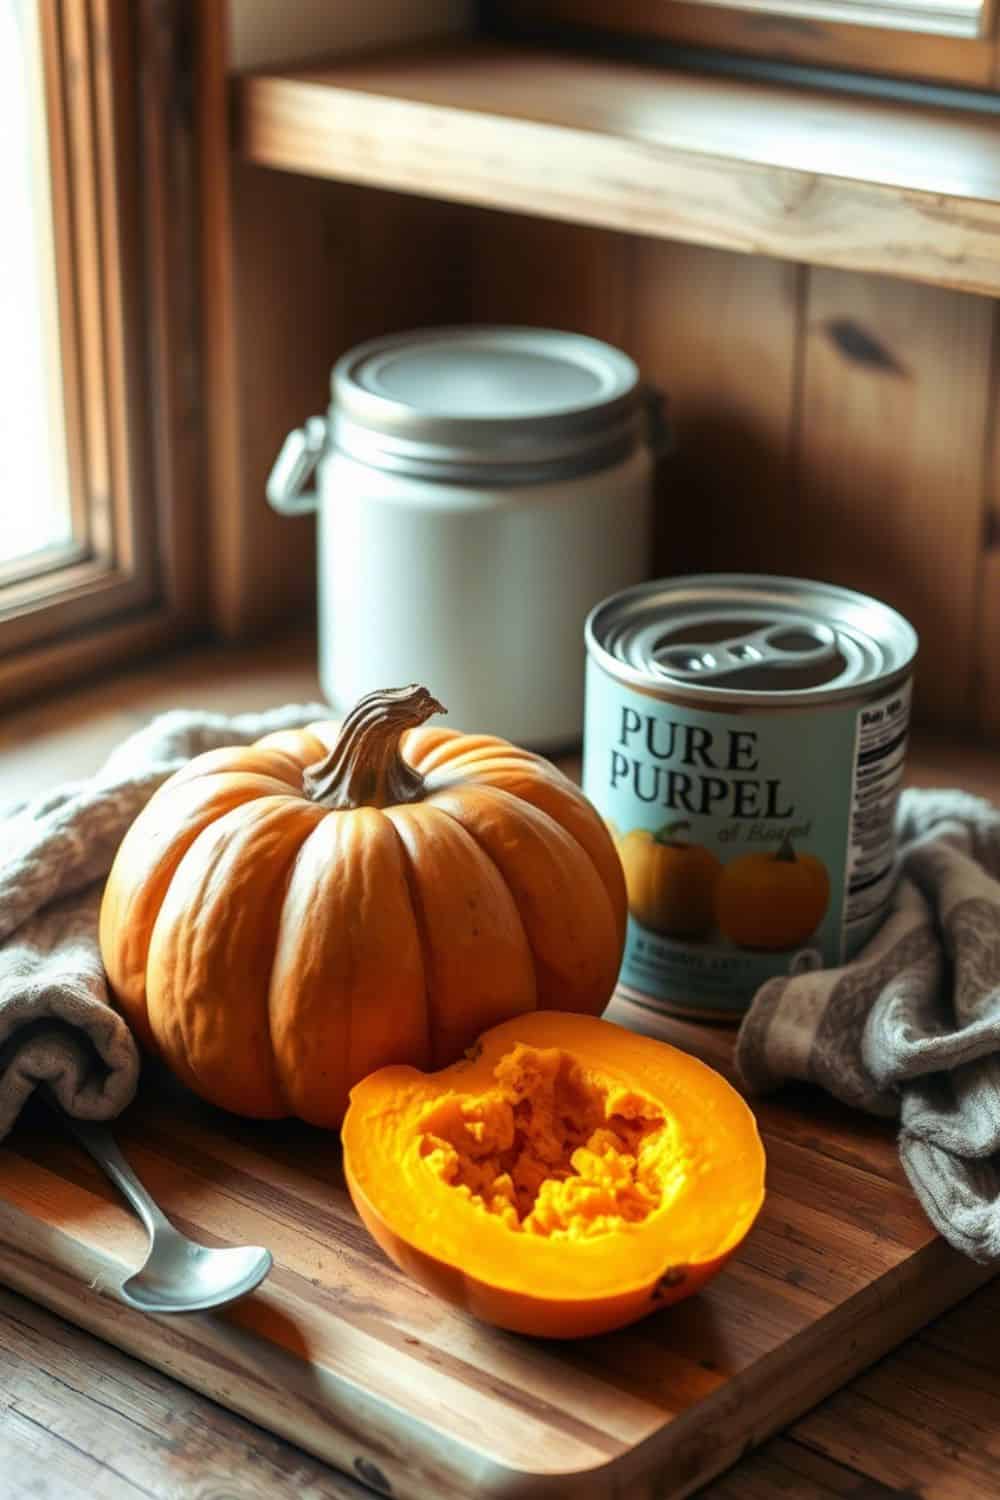
1. Choosing the Right Pumpkin
Not all pumpkins are your friends in the kitchen. Picking the right one is the first step to pumpkin bread perfection.
Step-by-Step Guide:
- Step 1: Decide if you’re team fresh or team canned. Fresh pumpkin takes effort but brings a special flavor. Canned pumpkin is quick and reliable.
- Step 2: For fresh, grab a sugar pumpkin or pie pumpkin. They’re small, sweet, and way better than those giant carving ones.
- Step 3: Slice it in half, scoop out the seeds, and roast at 350°F for 45 minutes until soft. Cool it, scoop the flesh, and puree it smooth.
- Step 4: If you’re using canned, check the label—100% pure pumpkin puree only, not the pie filling with extra stuff.
Why It’s a Game-Changer: The right pumpkin keeps your bread moist but not soggy and lets the cinnamon shine.
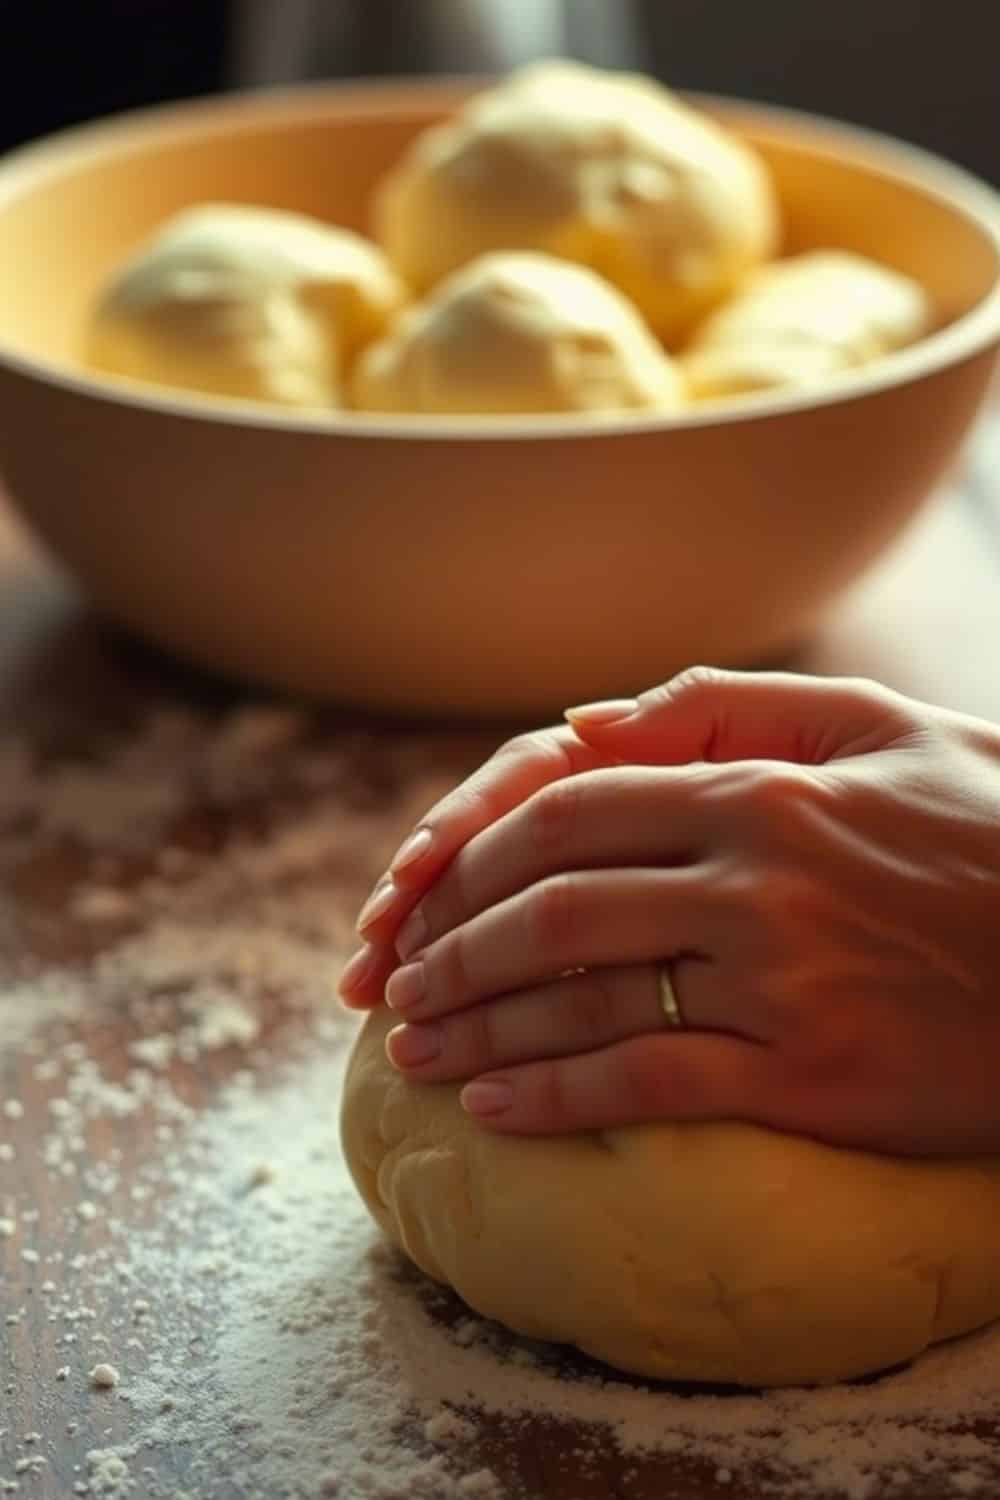
2. Perfecting the Dough
The dough is the backbone of this bread. Nail it, and you’re golden.
Step-by-Step Guide:
- Step 1: Use bread flour for that chewy, fluffy texture. All-purpose works, but bread flour’s the MVP.
- Step 2: Wake up your yeast right. Mix it with warm milk (not scalding!) and a pinch of sugar. Wait 5-10 minutes until it’s foamy.
- Step 3: Knead it until smooth—8-10 minutes by hand or 5 with a mixer. You’ll feel the magic happen.
- Step 4: Let it rise somewhere warm until it doubles, about 1-2 hours. Patience pays off!
Why It’s a Game-Changer: A killer dough means light, airy bread that pulls apart like a dream.
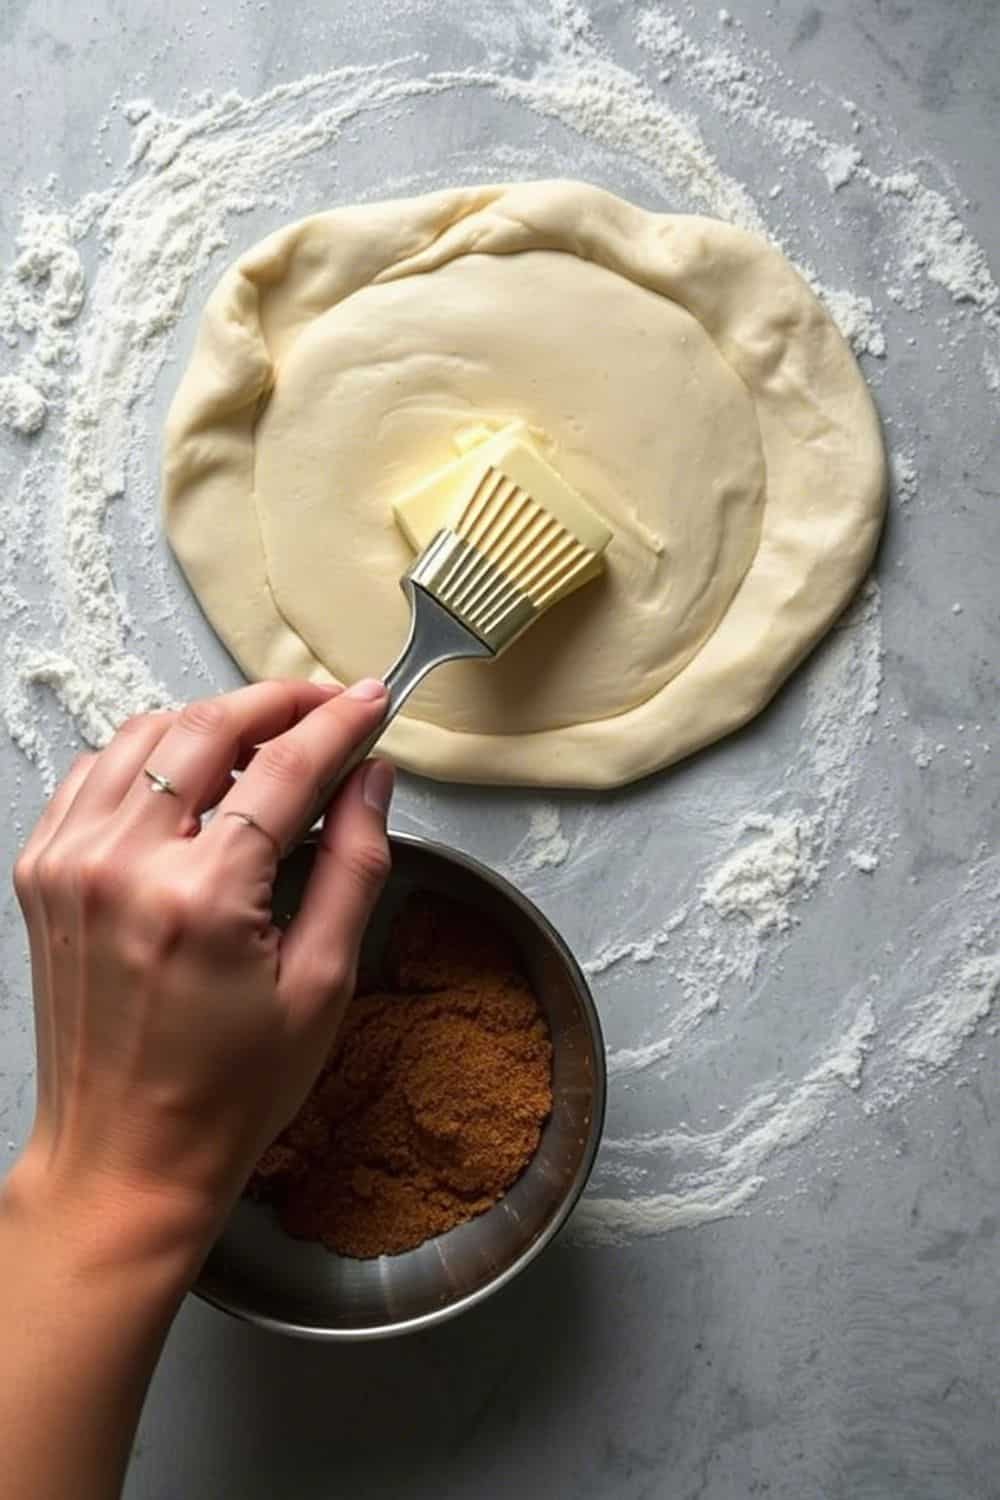
3. Mastering the Layering Technique
The pull-apart fun is all in the layers. Here’s how to make them irresistible.
Step-by-Step Guide:
- Step 1: After rising, roll your dough into a big rectangle, about 1/4 inch thick.
- Step 2: Slather on softened butter, then sprinkle a hefty layer of cinnamon sugar.
- Step 3: Slice it into even strips and stack them up like a dough sandwich.
- Step 4: Cut the stack into squares and stand them up in a greased loaf pan.
Why It’s a Game-Changer: Perfect layers mean everyone gets a piece of that cinnamon goodness.
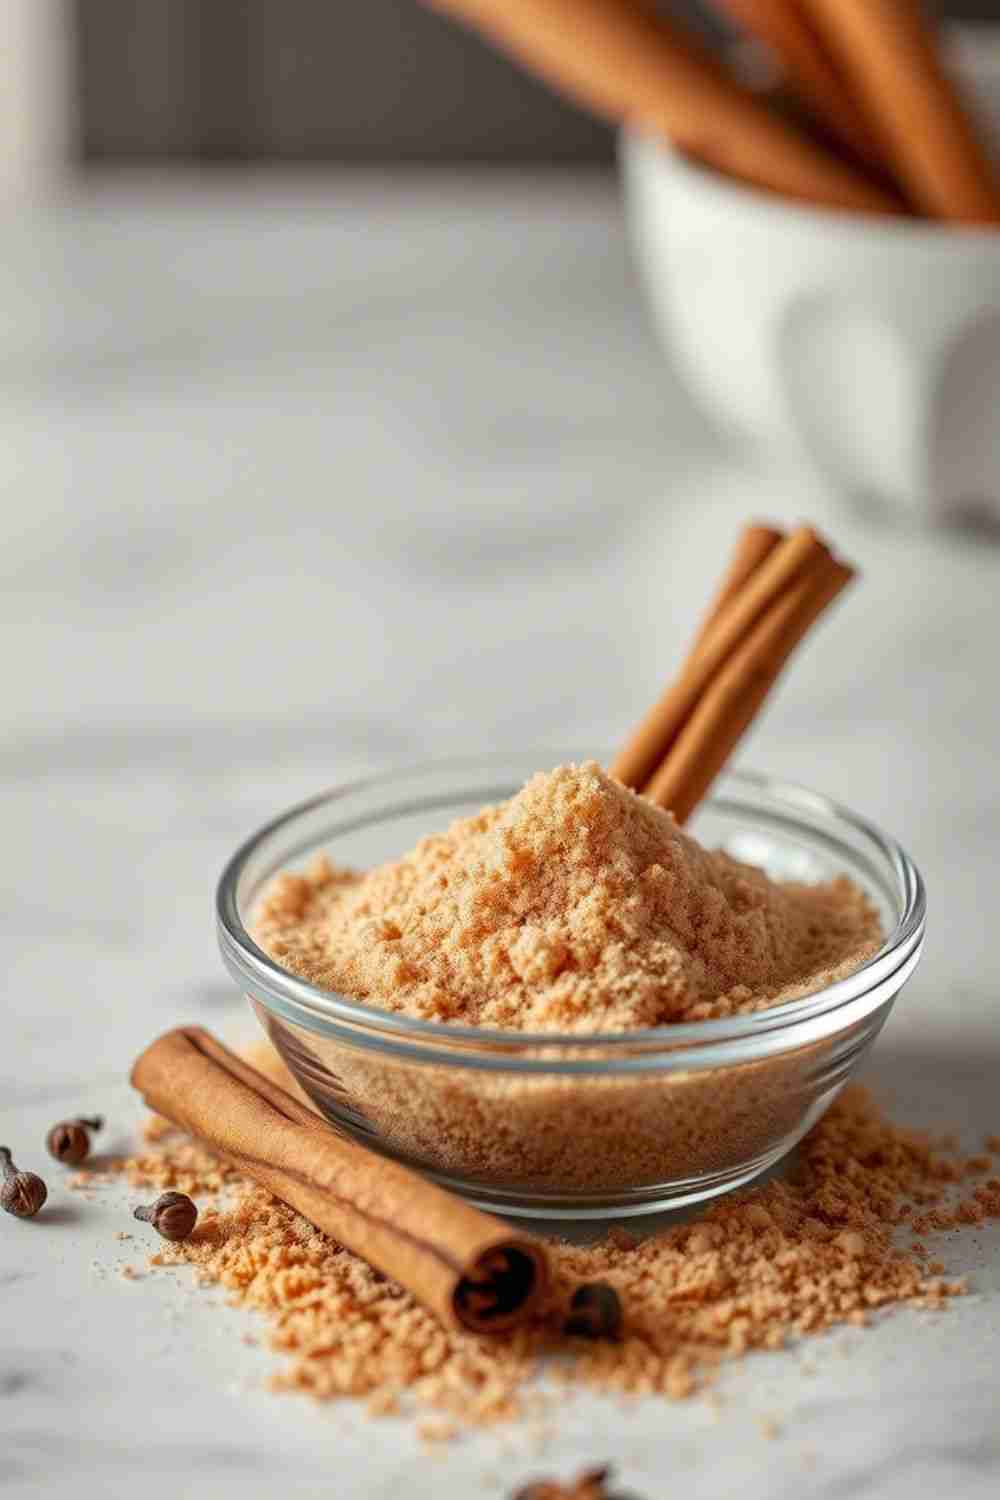
4. Getting the Cinnamon Sugar Ratio Just Right
Cinnamon and sugar need to play nice. Too much of either, and it’s game over.
Step-by-Step Guide:
- Step 1: Mix 1/2 cup brown sugar with 2 tablespoons cinnamon. It’s a solid starting point.
- Step 2: Taste a tiny bit. Too spicy? Add sugar. Too sweet? More cinnamon.
- Step 3: Want a twist? Toss in a pinch of nutmeg or cloves for extra cozy vibes.
Why It’s a Game-Changer: The perfect mix makes every bite warm and balanced.
5. Nailing the Baking Temperature and Time
Bake it wrong, and it’s toast—literally. Here’s how to ace it.
Step-by-Step Guide:
- Step 1: Heat your oven to 350°F. Too high burns it; too low leaves it doughy.
- Step 2: Bake 30-35 minutes until golden. Test with a toothpick—it should come out clean.
- Step 3: Top browning too fast? Pop some foil over it for the last 10 minutes.
Why It’s a Game-Changer: Spot-on baking gives you a crusty outside and soft inside.

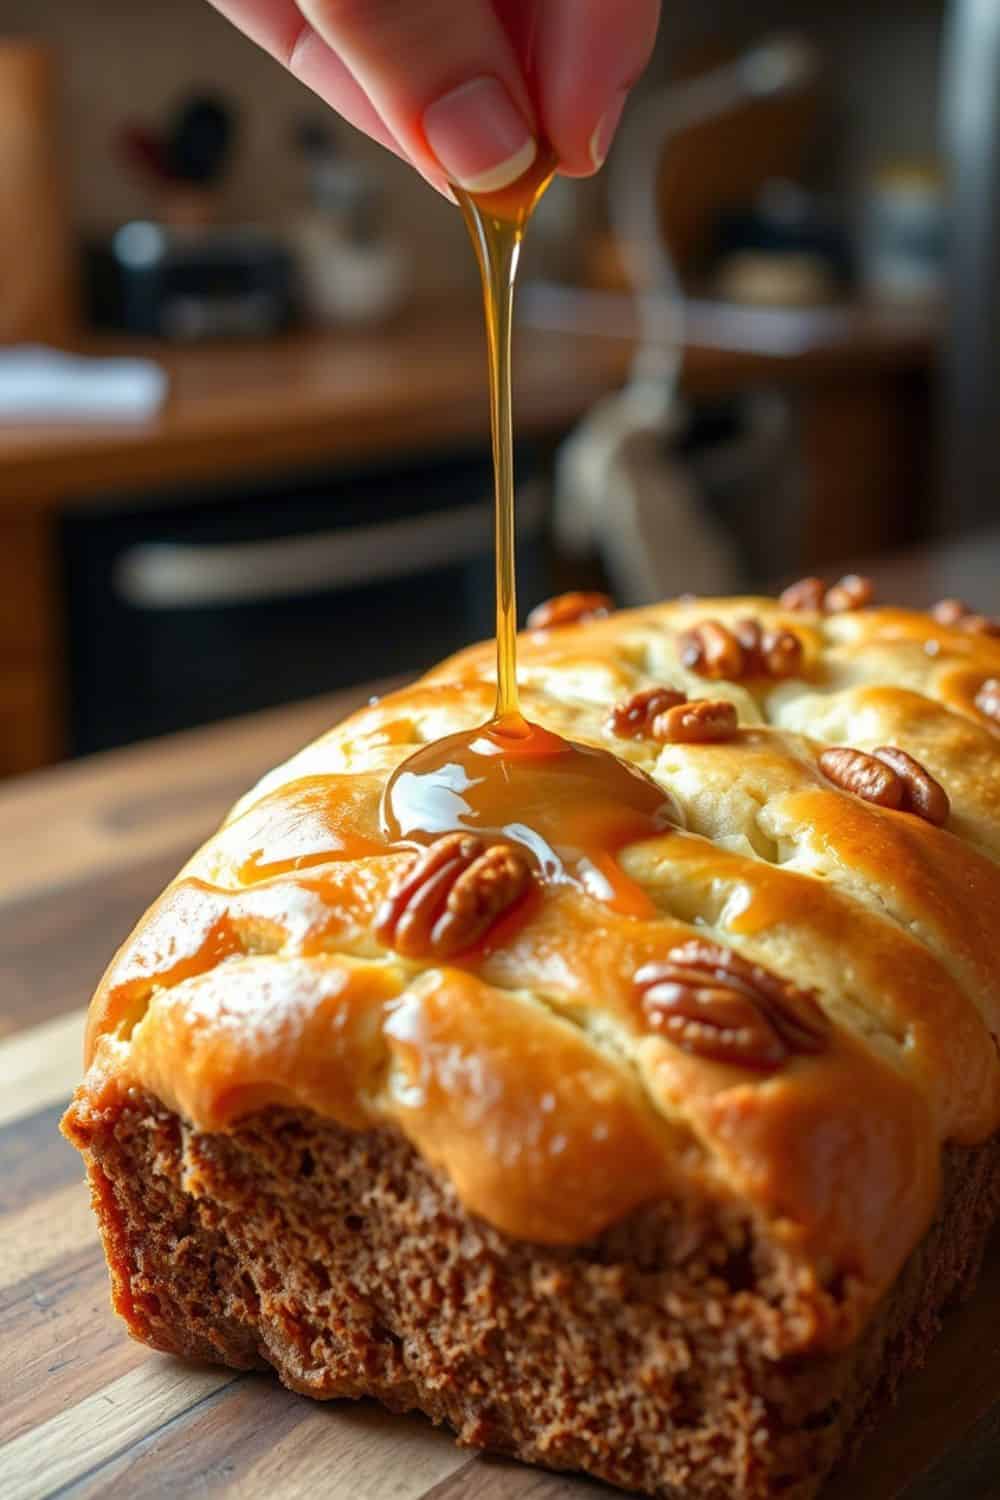
6. Adding the Perfect Glaze or Topping
A glaze can turn good bread into “can’t-stop-eating” bread. Let’s do this.
Step-by-Step Guide:
- Step 1: While the bread cools a bit, whisk 1 cup powdered sugar, 2 tablespoons milk, and a splash of vanilla.
- Step 2: Drizzle it over the warm loaf so it sinks into all the nooks.
- Step 3: Fancy it up—sprinkle pecans or a dash of cinnamon on top.
Why It’s a Game-Changer: That sweet, glossy finish makes it look pro and taste unreal.
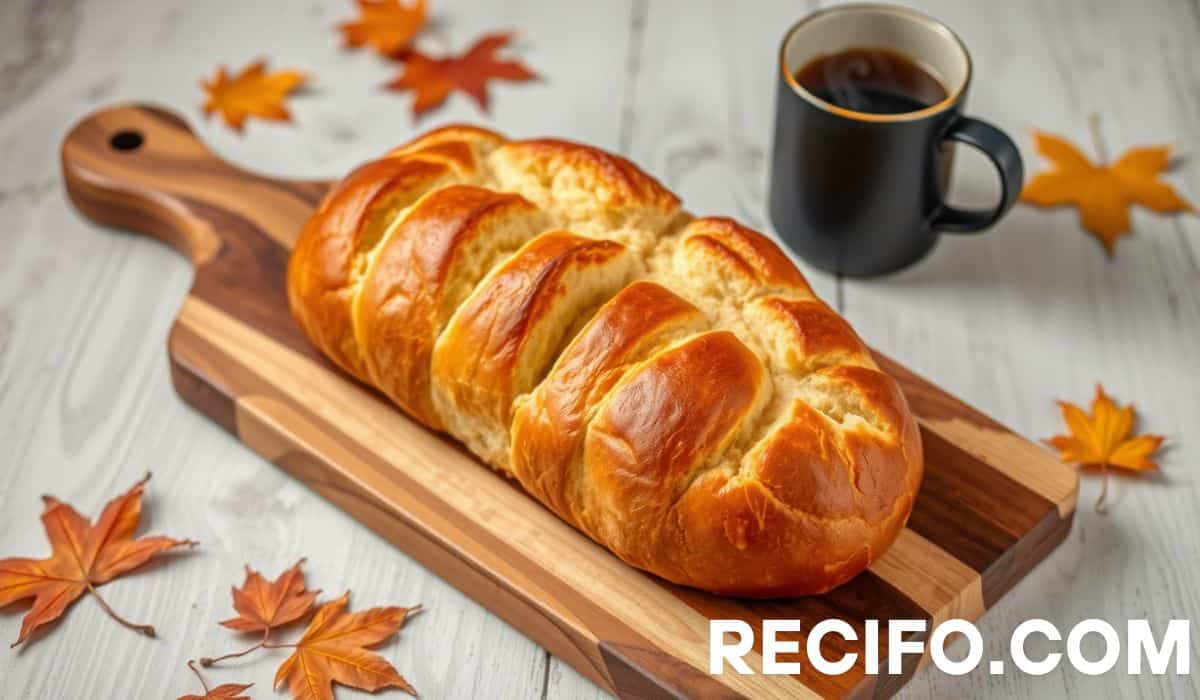
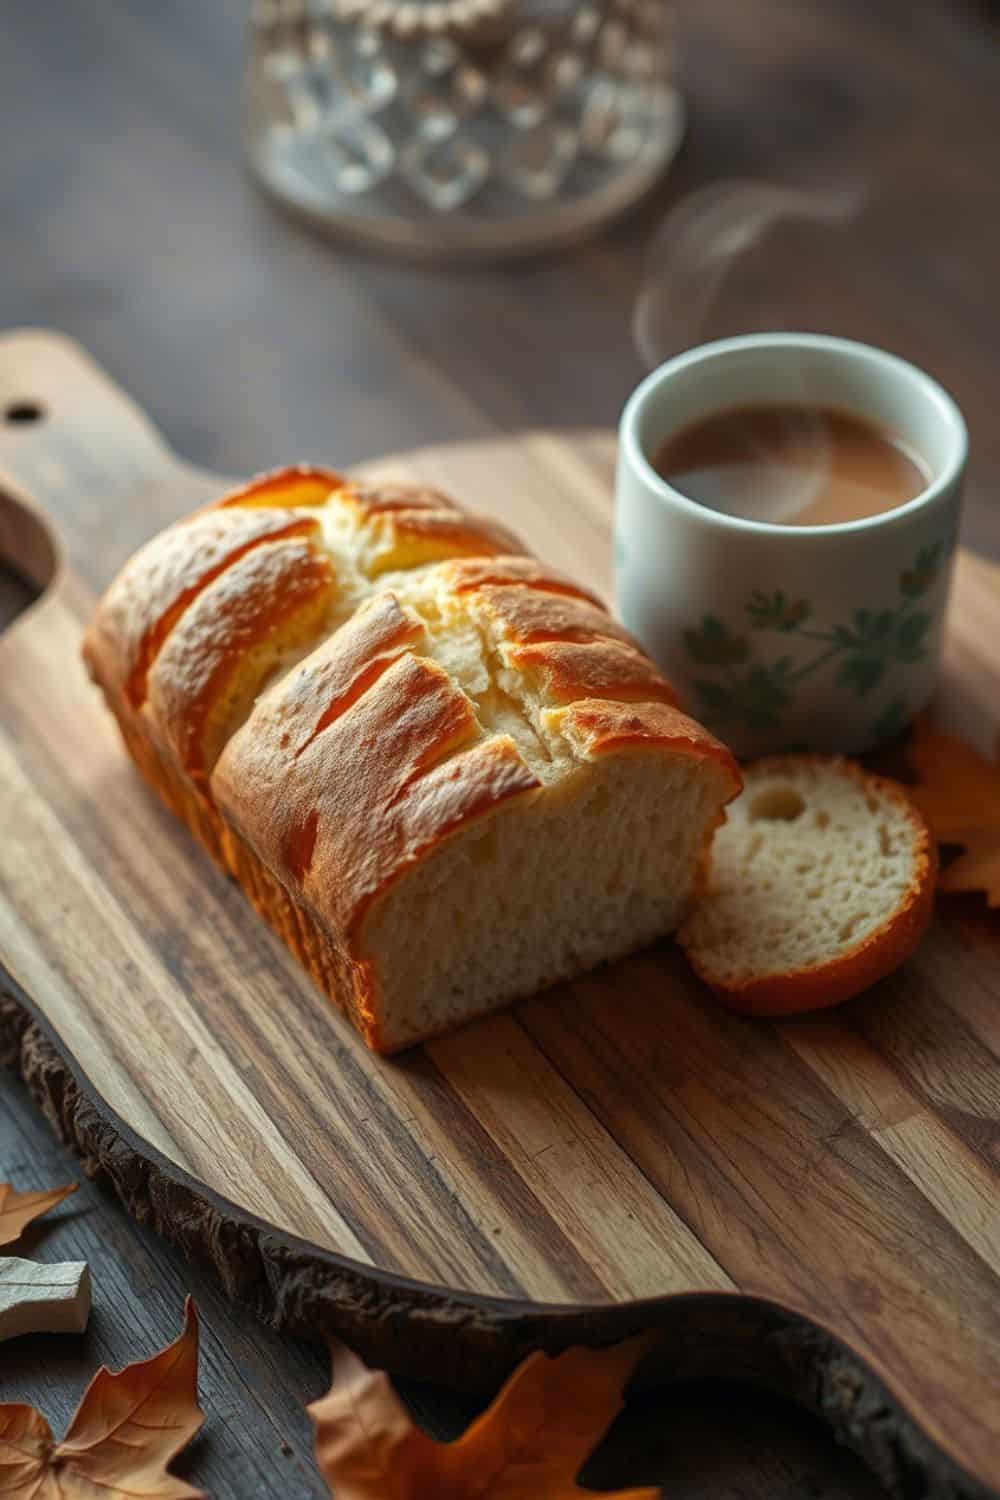
7. Serving It Like a Pro
How you serve it matters. Make it a moment!
Step-by-Step Guide:
- Step 1: Cool it for 10 minutes so it pulls apart clean.
- Step 2: Plop it on a wooden board or pretty platter for that rustic charm.
- Step 3: Pair it with coffee, chai, or a pumpkin spice latte—fall heaven!
Why It’s a Game-Changer: A great setup makes it a shareable, memorable treat.
FAQs
Q: Can I use gluten-free flour for this recipes.
A: Yep! Swap in a 1:1 gluten-free baking flour. It might be a tad denser, but still super tasty.
Q: How do I store leftovers?
A: Wrap it tight in plastic or use an airtight container. Good for 2-3 days at room temp or a week in the fridge. Zap it in the microwave for 10-15 seconds to revive it.
Q: Can I make this ahead of time?
A: Totally! Assemble it the night before, cover, and let it rise in the fridge. Next day, let it sit out 30 minutes, then bake.
Q: What if I don’t have a loaf pan?
A: No stress! A round cake pan or bundt pan works. Just tweak the baking time and check with a toothpick.
Conclusion
There you go—seven secrets to conquer the Pumpkin Cinnamon Pull Apart Bread like a boss. From picking the pumpkin to serving it with flair, you’re now armed with everything you need to bake a stunner. Don’t hold back—play with spices, switch up the glaze, or toss in some chocolate chips if you’re feeling wild. The best part? Sharing it. Call some pals, brew some coffee, and dig into that warm, spiced goodness together. Happy baking, friends—you’re gonna crush it!
Leave a Reply