

When it comes to cookie decorating, there’s one essential ingredient that can elevate your creations from basic to extraordinary—royal icing. Whether you’re decorating cookies for the holidays, a special event, or simply because you love to bake, mastering royal icing is a game-changer. In this ultimate guide, you’ll discover everything you need to know about royal icing, including step-by-step instructions, decorating tips, and expert tricks to ensure your cookies look stunning every time.
Table of Contents
Top pick
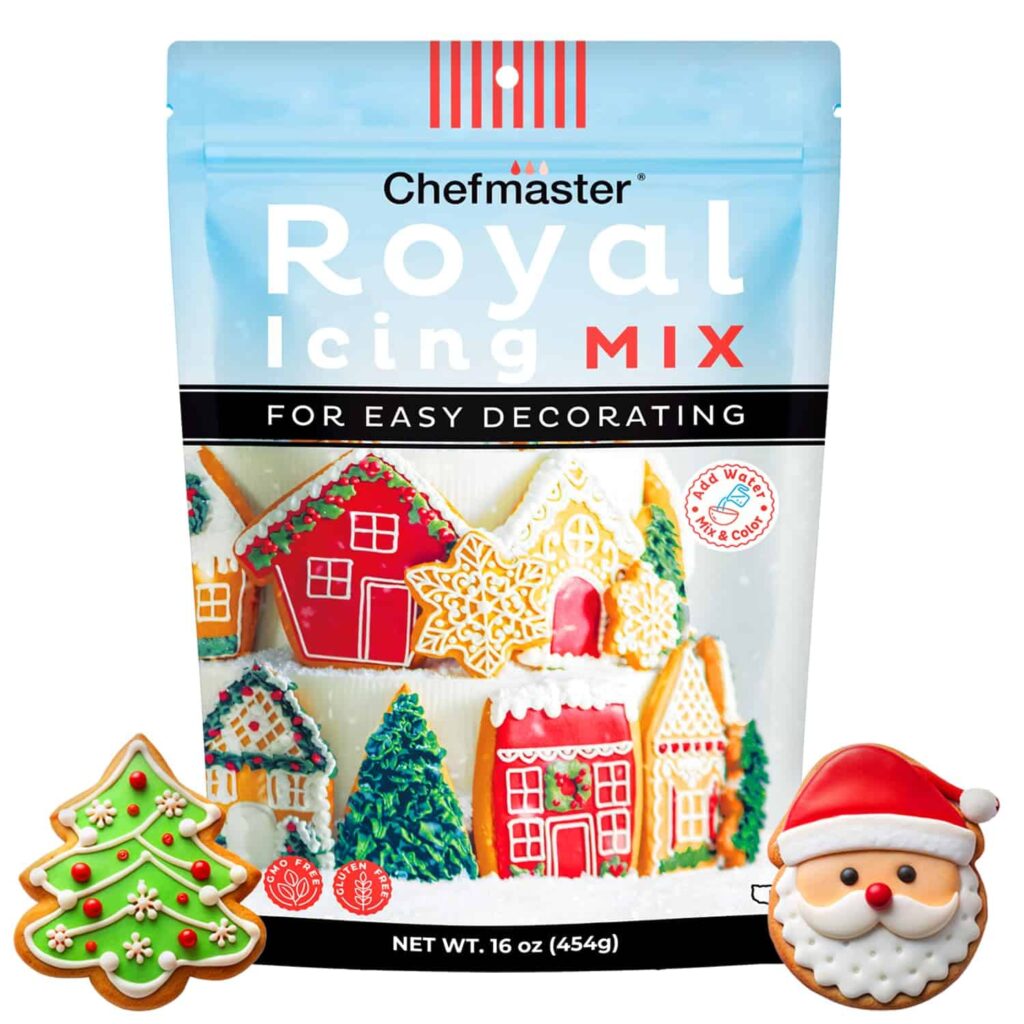
Chefmaster Premium Holiday Royal Icing Mix
Editor’s choice
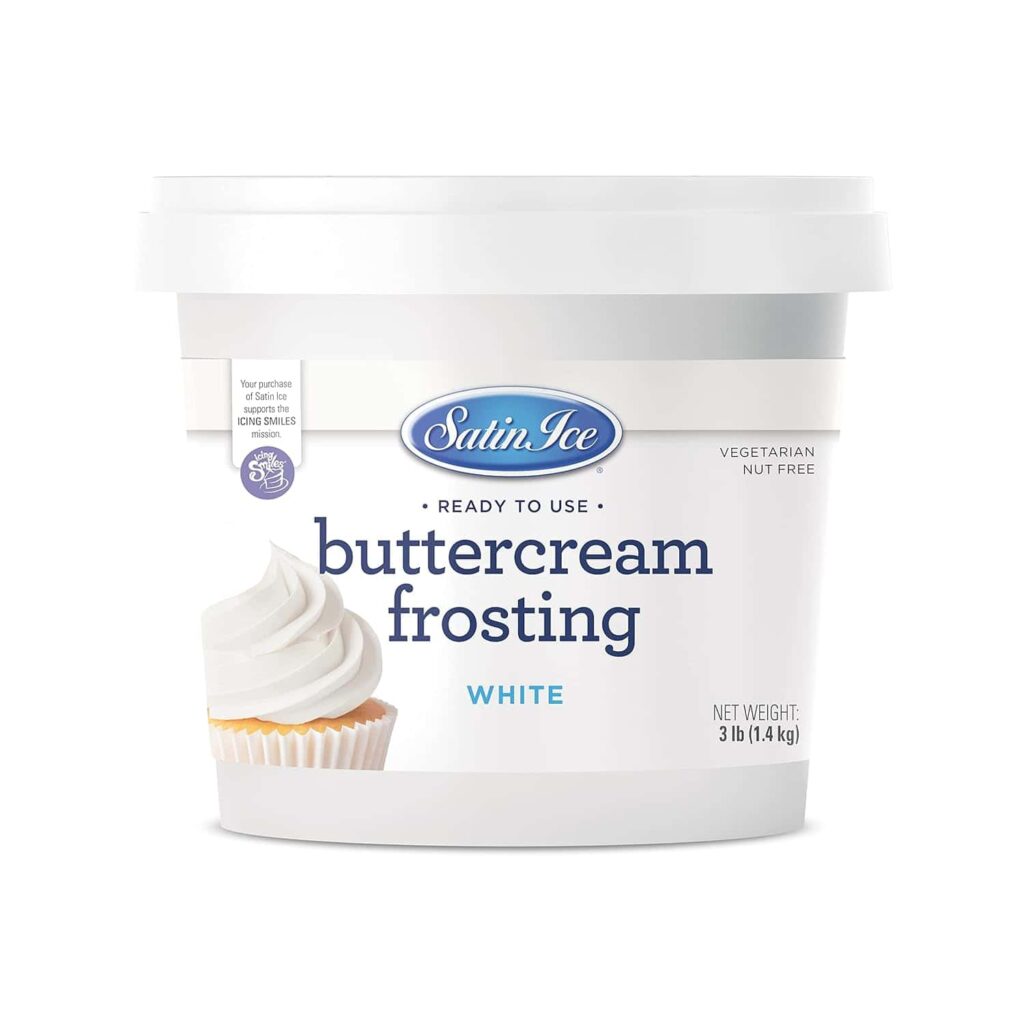
Ice White Buttercream Frosting
Best value
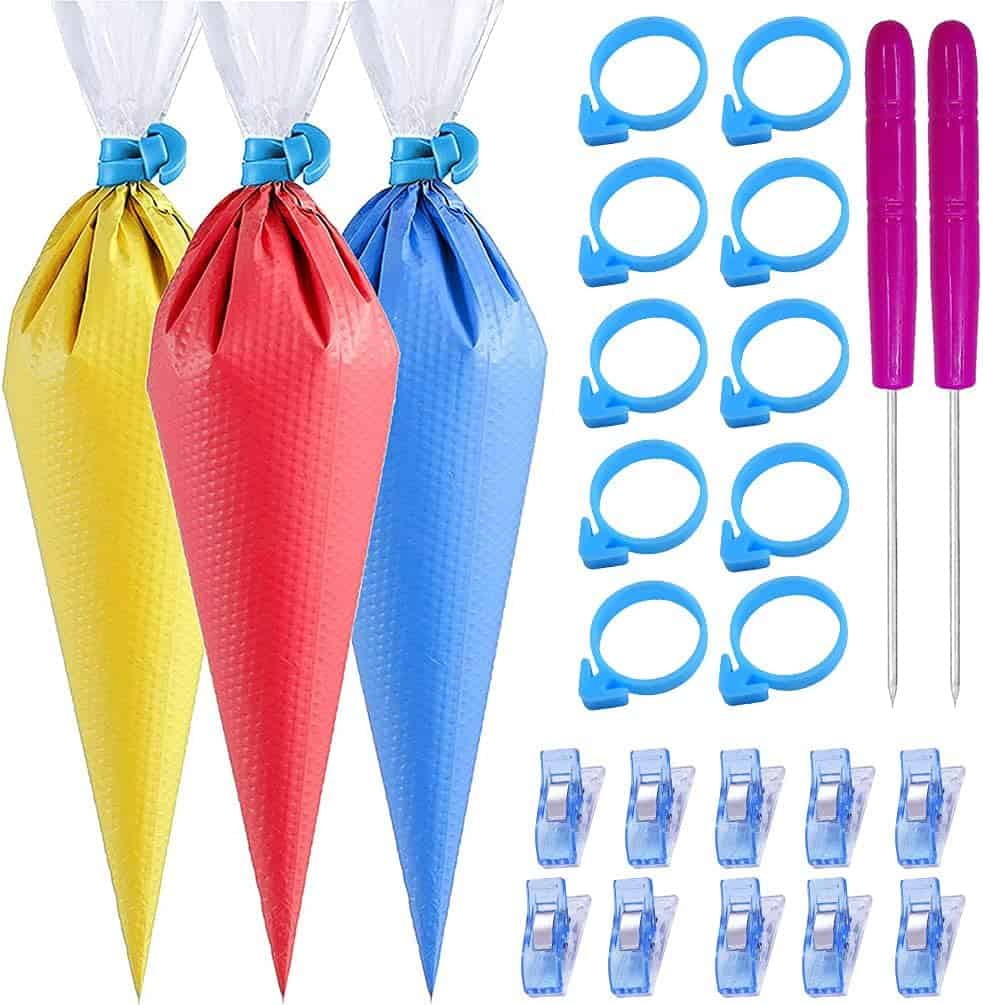
122 Pieces Tipless Piping Bags
What Is Royal Icing and Why It’s Essential for Perfect Cookies?
Royal icing is a smooth, glossy, and hard-drying icing made from powdered sugar, egg whites (or meringue powder), and water. It’s the perfect frosting for cookie decorators, as it hardens quickly and allows you to create intricate designs and details that stay intact. Unlike buttercream, royal icing dries to a hard, smooth finish, making it ideal for creating detailed designs, intricate patterns, and even small decorations like flowers and lettering.

Why Royal Icing is the Go-To for Cookie Decorating?
- Durability: Royal icing dries hard and glossy, making it ideal for creating beautiful designs that stay intact.
- Versatility: It can be used for outlining, flooding, and creating 3D decorations, giving you complete control over your cookie designs.
- Customizability: You can easily add food coloring and flavorings to royal icing, allowing you to create a wide range of designs and tastes.
- Smooth Finish: Unlike softer frostings, royal icing provides a smooth, professional finish, giving your cookies a polished look.
Why You Should Make Your Own Royal Icing?
While store-bought royal icing is convenient, making your own royal icing offers several benefits:
- Cost-Effective: Homemade royal icing costs a fraction of the price of pre-made versions.
- Control Over Consistency: When you make your own royal icing, you have full control over the texture, consistency, and flavor.
- Freshness: Homemade royal icing is always fresh and doesn’t contain any preservatives.
- Customization: You can adjust the flavor, color, and consistency to match your specific needs.
If you’ve ever struggled with store-bought icing that’s too thin, too thick, or just not the right color, making your own royal icing allows you to get it just right every time.
Understanding the Basics of Royal Icing
What Makes Royal Icing Different from Other Frostings?
Unlike buttercream or fondant, royal icing is unique because it hardens as it dries. This gives it the ability to hold intricate shapes, lines, and decorations, making it the top choice for cookie decorating.
- Buttercream: Soft, creamy, and not ideal for detailed work. It doesn’t dry hard, so it’s better suited for cupcakes or quick frosting jobs.
- Fondant: Soft and malleable, but lacks the ability to create fine, precise details like royal icing can.
- Royal Icing: Hardens to a smooth, glossy finish that can be piped into intricate designs and used to create detailed decorations.
Key Ingredients in Royal Icing
- Powdered Sugar
Powdered sugar, or confectioners’ sugar, is the primary ingredient in royal icing. It dissolves easily, ensuring that the icing is smooth and free of lumps. - Egg Whites vs. Meringue Powder
Traditional royal icing is made with raw egg whites, but for safety reasons, many decorators prefer to use meringue powder instead. Meringue powder contains powdered egg whites and stabilizers, making it a safer alternative. - Water and Lemon Juice
Water is used to thin the icing to the desired consistency, while a small amount of lemon juice can help prevent crystallization and enhance the flavor. - Flavor Additives (Optional)
While traditional royal icing is simple, you can add a variety of flavoring extracts such as vanilla, almond, or lemon to customize the taste. Just a few drops will go a long way!
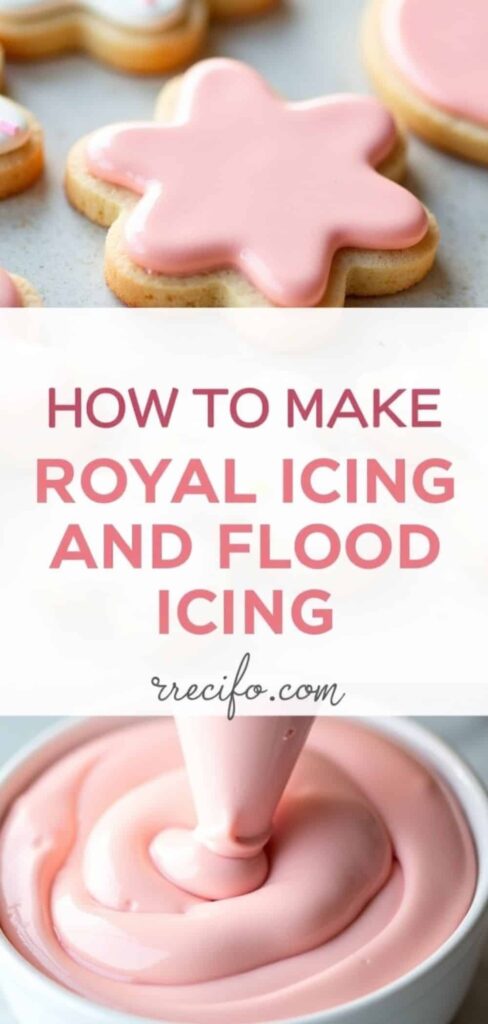
The Perfect Royal Icing Recipe for Cookies
Making royal icing at home is simple and requires only a few ingredients. Follow this step-by-step guide for the perfect royal icing consistency every time.
Ingredients List
- 4 cups powdered sugar (about 1 lb.)
- 3 tbsp meringue powder (or 2 large egg whites)
- 1/2 cup warm water
- 1/2 tsp lemon juice (optional)
- Food coloring (optional)
Equipment You’ll Need
- Stand mixer or hand mixer
- Piping bags and tips
- Spatula
- Sifter
- Measuring spoons and cups
- Clean, dry bowls
Instructions for Making Royal Icing
- Mix the Meringue Powder and Water
In a clean bowl, combine the meringue powder (or egg whites) with the warm water and lemon juice (if using). Mix on medium speed for about 3–5 minutes, until stiff peaks form. - Sift the Powdered Sugar
Sift the powdered sugar to remove any lumps, ensuring that your icing will be smooth and free from clumps. - Combine the Ingredients
Gradually add the sifted powdered sugar to the meringue mixture. Mix on low speed until fully combined. - Adjust the Consistency
Check the consistency of the icing. If it’s too thick, add a small amount of water, a teaspoon at a time, until you reach the desired consistency. For outlining, the icing should be thick and hold its shape, while for flooding, it should be slightly thinner. - Color the Icing (Optional)
If you plan on using different colors, divide the icing into bowls and add food coloring to each bowl. Stir gently until the color is evenly distributed.
Techniques for Perfect Royal Icing Consistency
Achieving the Right Consistency for Your Cookie Designs
Royal icing needs to be the right consistency for different decorating techniques. Here’s a breakdown of the various consistencies you’ll need:
Stiff Consistency for Outline and Detailing
- When to Use: Ideal for piping intricate outlines, lettering, and fine details.
- How to Achieve: To create stiff royal icing, use a small amount of water when mixing. The icing should hold its shape when piped and not spread.
Medium Consistency for Borders and Small Fillings
- When to Use: Perfect for creating borders, small piping designs, and smaller flooded areas.
- How to Achieve: Add a little more water than for stiff icing. The icing should pipe smoothly but still hold its shape.
Flood Consistency for Filling Cookie Designs
- When to Use: Ideal for flooding larger areas and covering the surface of cookies with a smooth, even layer of icing.
- How to Achieve: Add more water until the icing runs off the spatula in a smooth ribbon that dissolves back into the icing within 10–15 seconds.
How to Decorate Cookies with Royal Icing?
Basic Royal Icing Decorating Techniques
Piping Outlines and Details
Piping with royal icing is a key technique for cookie decorating. To pipe clean and precise lines:
- Fill your piping bag with stiff royal icing.
- Hold the piping bag at a 45-degree angle, and pipe the outline in slow, steady motions.
- Make sure the lines connect without any breaks, as the royal icing will harden in place.
Flooding Techniques for Smooth Surfaces
Flooding allows you to fill in cookie designs with a smooth, even layer of royal icing. To flood:
- Use medium to thin royal icing (flood consistency).
- Pipe an outline around the edge of the cookie.
- Fill the inside of the outline with icing, using a toothpick or small spatula to spread it evenly.
- Allow the icing to set before adding additional designs or details.
Wet-on-Wet and Marbling Effects
The wet-on-wet technique allows you to create beautiful marbled effects. After flooding the cookie, add dots or lines of a different color and use a toothpick to swirl them into the surface. The result is a stunning, professional-looking design.
Advanced Royal Icing Decorating Tips
Royal Icing Transfers and Decorations
For more intricate designs, you can create royal icing transfers. Pipe your design onto wax paper and allow it to dry completely before transferring it onto your cookie. These can include flowers, lace patterns, or 3D elements like bows and hearts.
Stenciling and Airbrushing with Royal Icing
Stenciling is an easy way to add complex designs to cookies. Simply place a stencil on the cookie and use royal icing to cover the stencil. Remove the stencil carefully to reveal the design.
Storing and Handling Royal Icing
How to Store Royal Icing for Future Use?
Royal icing can be stored for several days or even weeks if kept in an airtight container.
- Room Temperature: Store royal icing at room temperature if you plan to use it within 2–3 days.
- Refrigerating and Freezing: If storing for longer periods, refrigerate or freeze the icing. When ready to use, bring it back to room temperature and re-whisk if necessary.
How Long Do Royal Icing Cookies Last?
Decorated cookies can last for up to 2 weeks at room temperature when stored in an airtight container. For best results, avoid stacking cookies until the icing is fully set.
Frequently Asked Questions (FAQ)
Can I Make Royal Icing Without Meringue Powder?
Yes, you can make royal icing using raw egg whites. However, if you’re concerned about food safety, it’s better to use meringue powder, which is pasteurized and safe to consume.
Can I Use Royal Icing on Soft Cookies?
Royal icing works best on firmer cookies, but it can also be used on soft cookies if you allow the icing to set properly. Just be mindful that it may not hold up as well on soft, chewy cookies.
How Can I Make Royal Icing More Glossy?
If you want an extra glossy finish, you can add a small amount of corn syrup or glycerin to your royal icing. This helps to enhance the sheen.
Why Does My Royal Icing Crack or Harden Too Much?
Cracking can occur if the icing is too thin or if it’s exposed to air for too long. Ensure that the icing is the right consistency and cover your decorated cookies while they dry to avoid cracking.
Can I Make Royal Icing in Advance?
Absolutely! Royal icing can be made in advance and stored in an airtight container. Just make sure to cover it tightly to prevent air from drying it out.
Conclusion
Mastering royal icing opens up a world of creative possibilities for your cookie decorating. Whether you’re a beginner or a seasoned baker, royal icing allows you to create stunning, professional-looking cookies that will impress everyone. With the tips, tricks, and techniques in this guide, you’ll be on your way to creating perfect royal icing cookies in no time!
Leave a Reply