
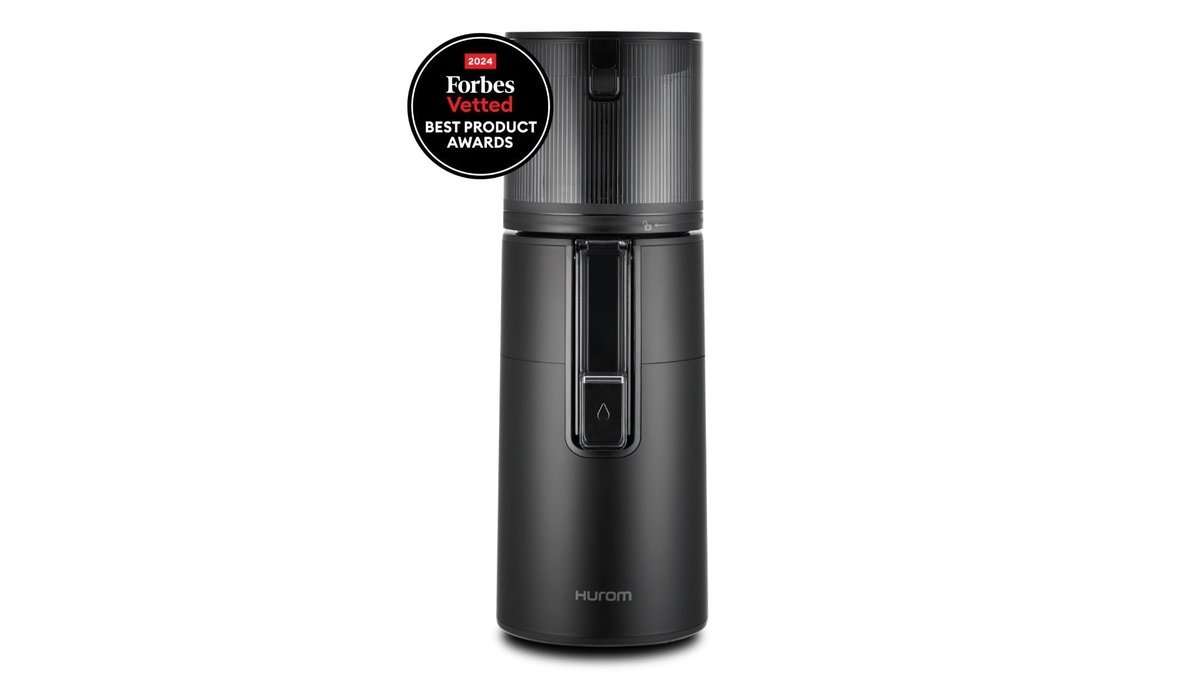

Choosing a juicer is not just about juice quality, speed, or nutrient retention. Cleanup matters just as much, especially if you plan to make fresh juice every morning. A machine that takes only a few minutes to wash can make daily juicing much easier, while one with numerous small parts, narrow channels, and sticky pulp buildup can quickly become frustrating.
So, which juicers are easiest to clean? Juicers with fewer removable parts, wide feeding chutes, smooth surfaces, and dishwasher-safe components are generally the easiest to maintain. Centrifugal juicers are often convenient for quick cleanup, while some modern slow juicers offer simpler assembly and easier pulp removal than traditional designs.
The best choice depends on the fruits and vegetables you juice, how frequently you use the machine, and whether you prefer handwashing or a dishwasher.
Table of Contents
Quick cleaning guide for your juicer
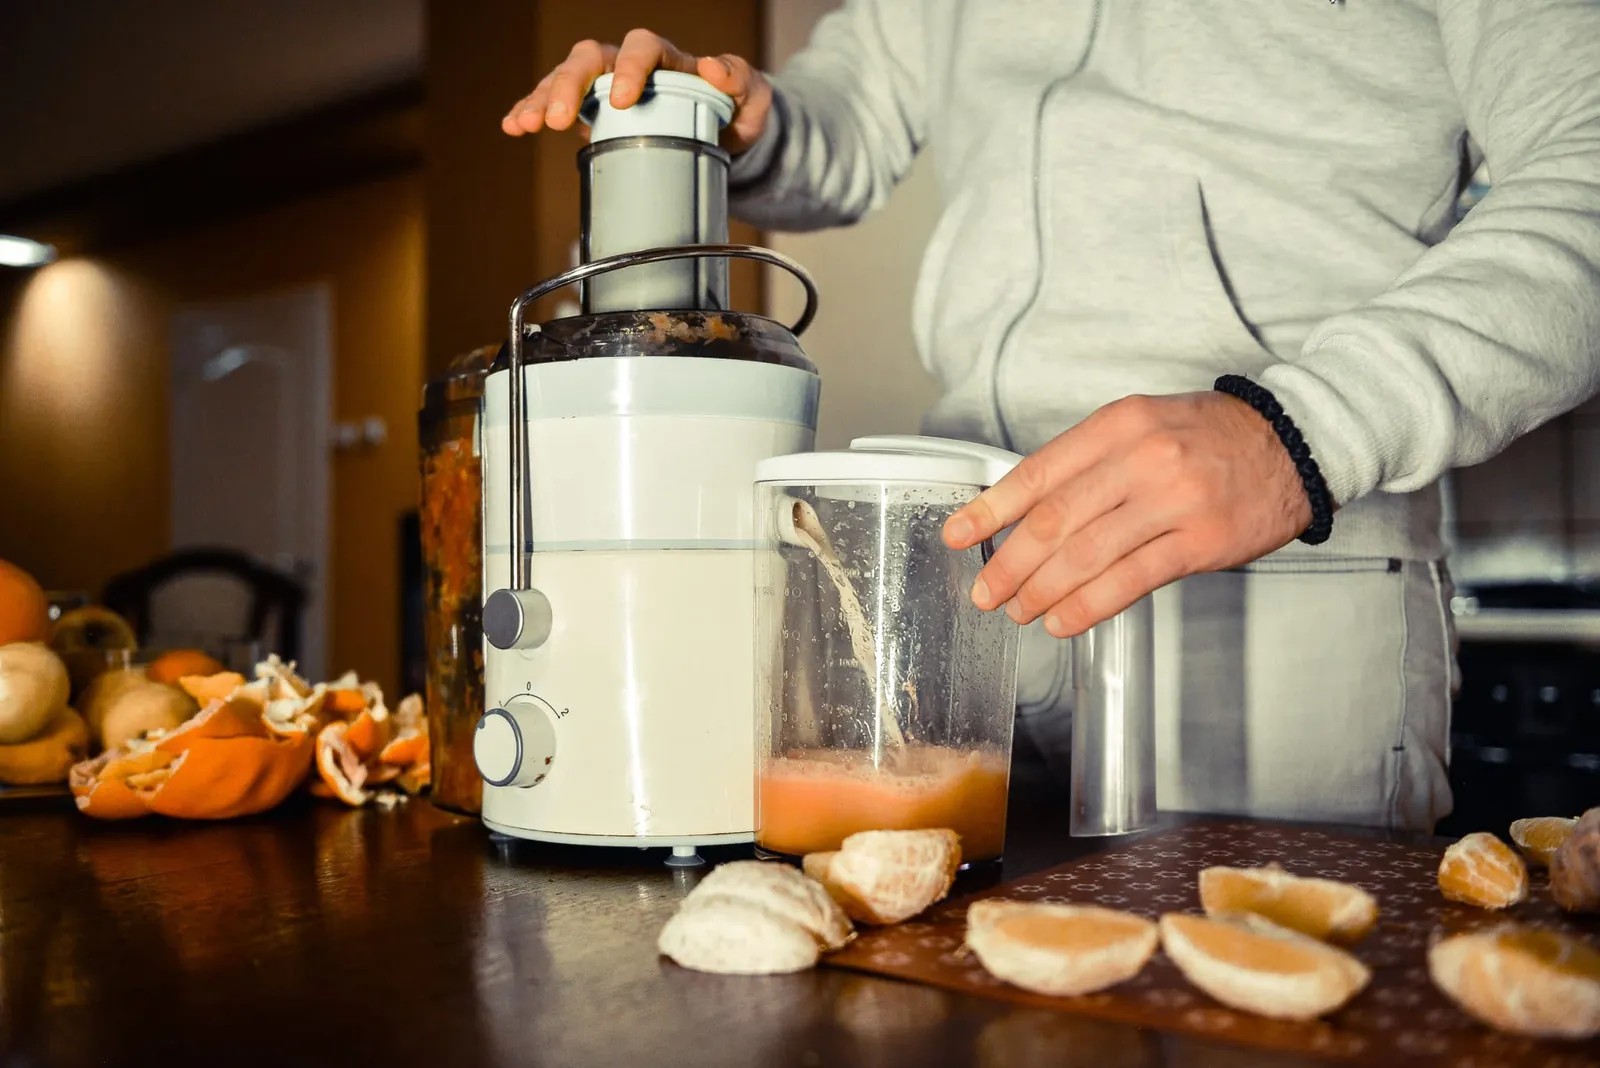
- Rinse the mesh filter under warm running water immediately after use to prevent pulp from hardening.
- Use a stiff-bristled brush to remove stubborn fiber stuck in the small holes of the juice strainer.
- Place dishwasher-safe components on the top rack only if your manual confirms they’re heat-resistant.
- Wipe the base unit with a damp microfiber cloth to avoid getting water inside the motor.
- Allow all parts to air dry completely before reassembling to prevent mold growth in damp areas.
How Do You Choose the Best Cold Press Juicer
Why some designs are faster to wash?
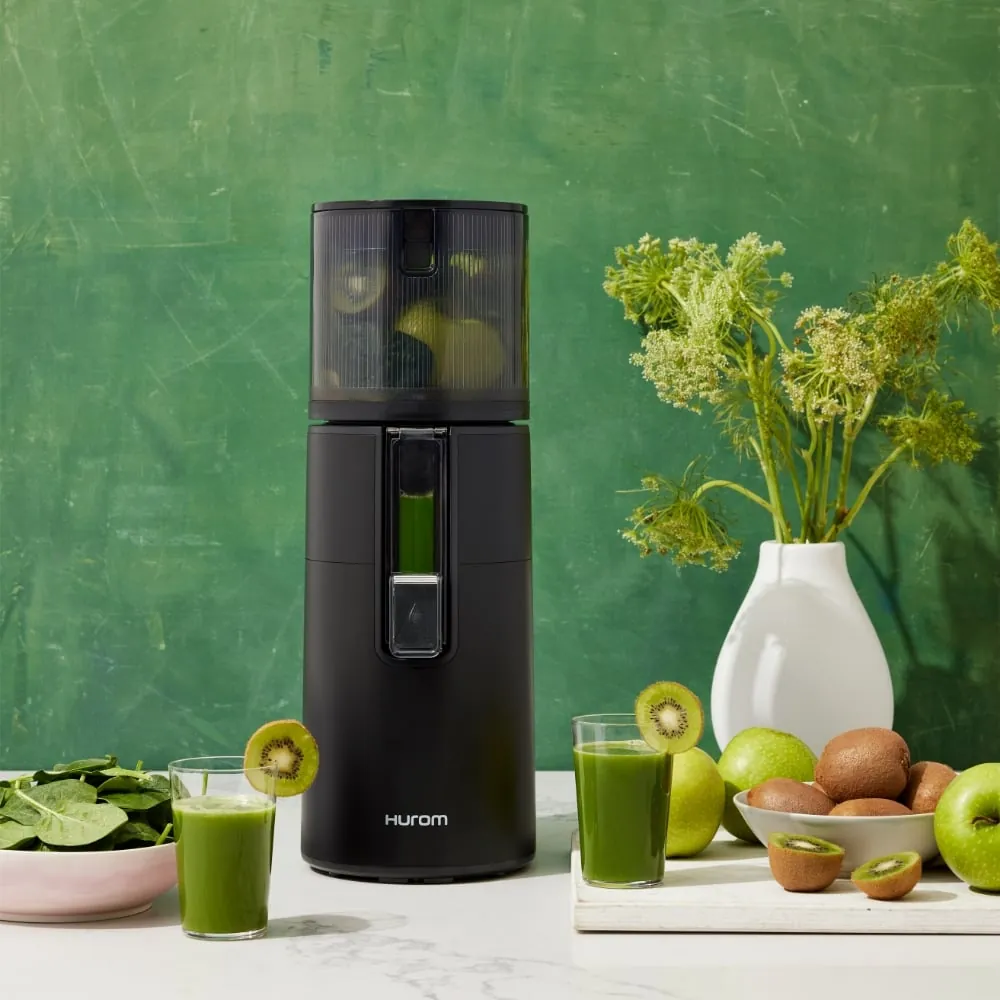
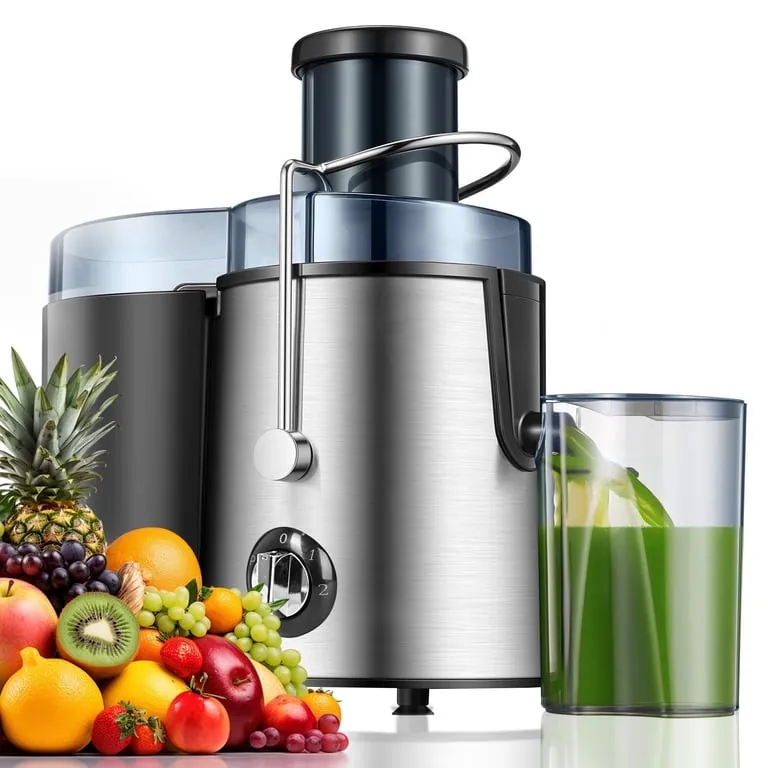
The primary reason for the difference in cleaning time is the complexity of the internal assembly. Centrifugal juicers, which use a high-speed spinning blade to extract liquid, have a simple design consisting of a lid, a grater disc, a mesh filter, and a pulp bin. Because these parts are large and accessible, they take little effort to scrub.
In contrast, masticating or “slow” juicers use an auger and a series of fine screens that trap fiber in tight corners. Removing this pulp requires more manual labor and often demands a specialized cleaning tool.
You must always follow the food safety guidelines provided by the FDA to ensure your equipment stays sanitary. Proper sanitation prevents the buildup of bacteria in the tiny crevices where juice residue collects. If you have a machine with many small parts, you’ll spend more time disassembling the unit than actually making juice.
This trade-off is important: you gain higher nutrient extraction with a slow juicer, but you lose convenience. The time you save with a simple centrifugal unit is often the difference between juicing daily and letting the machine collect dust on your counter.
Differences in cleaning requirements
While some designs are easier to maintain, the material and build quality can change how you handle them.
| Situation | What changes | What to do instead |
|---|---|---|
| Dishwasher use | Heat warps plastic | Hand wash in warm water |
| Dried pulp | Residue sticks hard | Soak parts for ten minutes |
| Citrus fruits | Acid corrodes metal | Rinse immediately after use |
| Leafy greens | Fibers clog screens | Use a soft-bristled brush |
| High-speed motor | Internal moisture risk | Wipe base with damp cloth |
How to clean your machine properly?
- Turn off and unplug the unit from the wall outlet to ensure the motor is completely dead before you begin touching the internal blades or sharp mesh screens.
- Unlock the lid and remove the pulp container, emptying the contents into a compost bin to avoid clogging your kitchen sink pipes with heavy vegetable fiber or fruit skins.
- Detach the mesh filter basket and hold it under warm running water, using a nylon brush to gently scrub the holes until they’re clear of debris.
- Remove the auger or grater disc carefully, as these components often have sharp edges that can cut fingers if you aren’t paying close attention during the cleaning process.
- Wash all removable plastic parts in a basin of warm, soapy water; avoid using abrasive scrubbers that leave scratches where bacteria can hide and grow over time.
- Rinse every component thoroughly with fresh water to remove all soap residue, which could otherwise change the taste of your next batch of juice if left behind.
- Lay the parts out on a clean drying rack for at least 30 minutes to ensure they’re fully dry before you put the machine back together for storage.
Mistakes that ruin your cleanup

- Letting juice residue dry on the mesh screen forces you to scrub for ten minutes instead of thirty seconds.
- Submerging the motor base in water permanently damages the electrical components and voids your warranty.
- Using steel wool on plastic parts creates deep scratches that trap food particles and encourage bacterial growth.
- Reassembling the juicer while parts are still wet creates a trapped, humid environment that promotes mold inside the housing.
Frequently asked questions
Can I put all juicer parts in the dishwasher?
Most parts aren’t dishwasher-safe, so check your owner’s manual for specific temperature limits. High heat from a dishwasher cycle can warp the plastic housing or damage the rubber seals, which will cause your machine to leak the next time you use it. Always hand wash the mesh filter.
Why is there pulp left in the filter?
The pulp stays in the filter because the fibers are too large to pass through the fine mesh holes. If you notice a heavy buildup, try feeding the produce into the chute more slowly. This gives the motor enough time to process the material fully, which reduces the amount of waste trapped inside.
Is it safe to leave the juicer dirty overnight?
It isn’t safe to leave the machine dirty because high-sugar fruit residue attracts pests and promotes rapid bacterial growth. The acid in fruits like oranges or pineapples can also dull or corrode metal parts if left in contact for more than a few hours. Always rinse the machine immediately after use.
How do I remove stubborn stains from plastic?
You can remove stains by soaking the plastic parts in a mixture of warm water and a small amount of baking soda. Let the components sit for 15 minutes, then scrub gently with a soft cloth. This method is effective for lifting pigment from carrots or beets without damaging the surface.
Does the feed chute size affect cleaning?
A wider feed chute is usually easier to clean because it gives you more space to reach inside the unit. Smaller chutes often require you to use a long, thin brush to reach the bottom, which is difficult and time-consuming. Look for wide-mouth designs if you want to minimize your daily effort.
How often should I deep clean the machine?
You should perform a deep clean once a week by soaking all removable parts in a vinegar solution to break down mineral deposits. This process ensures the juice flows freely and prevents the buildup of “scale” that can occur if you use hard water to rinse your equipment.
What happens if I lose the cleaning brush?
You can replace the specialized brush with a clean, new toothbrush or a small nylon-bristled scrub brush. Ensure the bristles are firm enough to clear the mesh holes but soft enough not to scratch the plastic. Never use a metal wire brush, as it will destroy the finish of your filter.
Conclusion
Maintaining your equipment is the best way to ensure it lasts for years. By following these simple steps, you keep the machine working efficiently and keep your kitchen clean. Consistent care prevents the most common issues and makes your daily juicing routine much more enjoyable.
Leave a Reply